I recently redesigned my blog using Google Stitch — an AI-powered UI design tool from Google Labs — combined with Claude Code to convert the designs into a fully functional WordPress block theme. Here’s how it went.
What is Google Stitch?
Stitch is a free AI UI design tool from Google Labs that generates high-fidelity web and mobile UI from natural language prompts, sketches, or screenshots. It exports clean HTML/CSS, Tailwind, and React code. It’s free during beta with monthly generation limits (350 standard, 50 experimental).
Key features that made it useful for this project:
- Generate complete page designs from text descriptions
- Export HTML/CSS, Tailwind, and React code
- Create and export design systems via DESIGN.md — an agent-friendly markdown spec
- MCP server integration with coding tools like Claude Code, Gemini CLI, and Cursor
- Generate design variants with different creative ranges (refine, explore, reimagine)
The Workflow
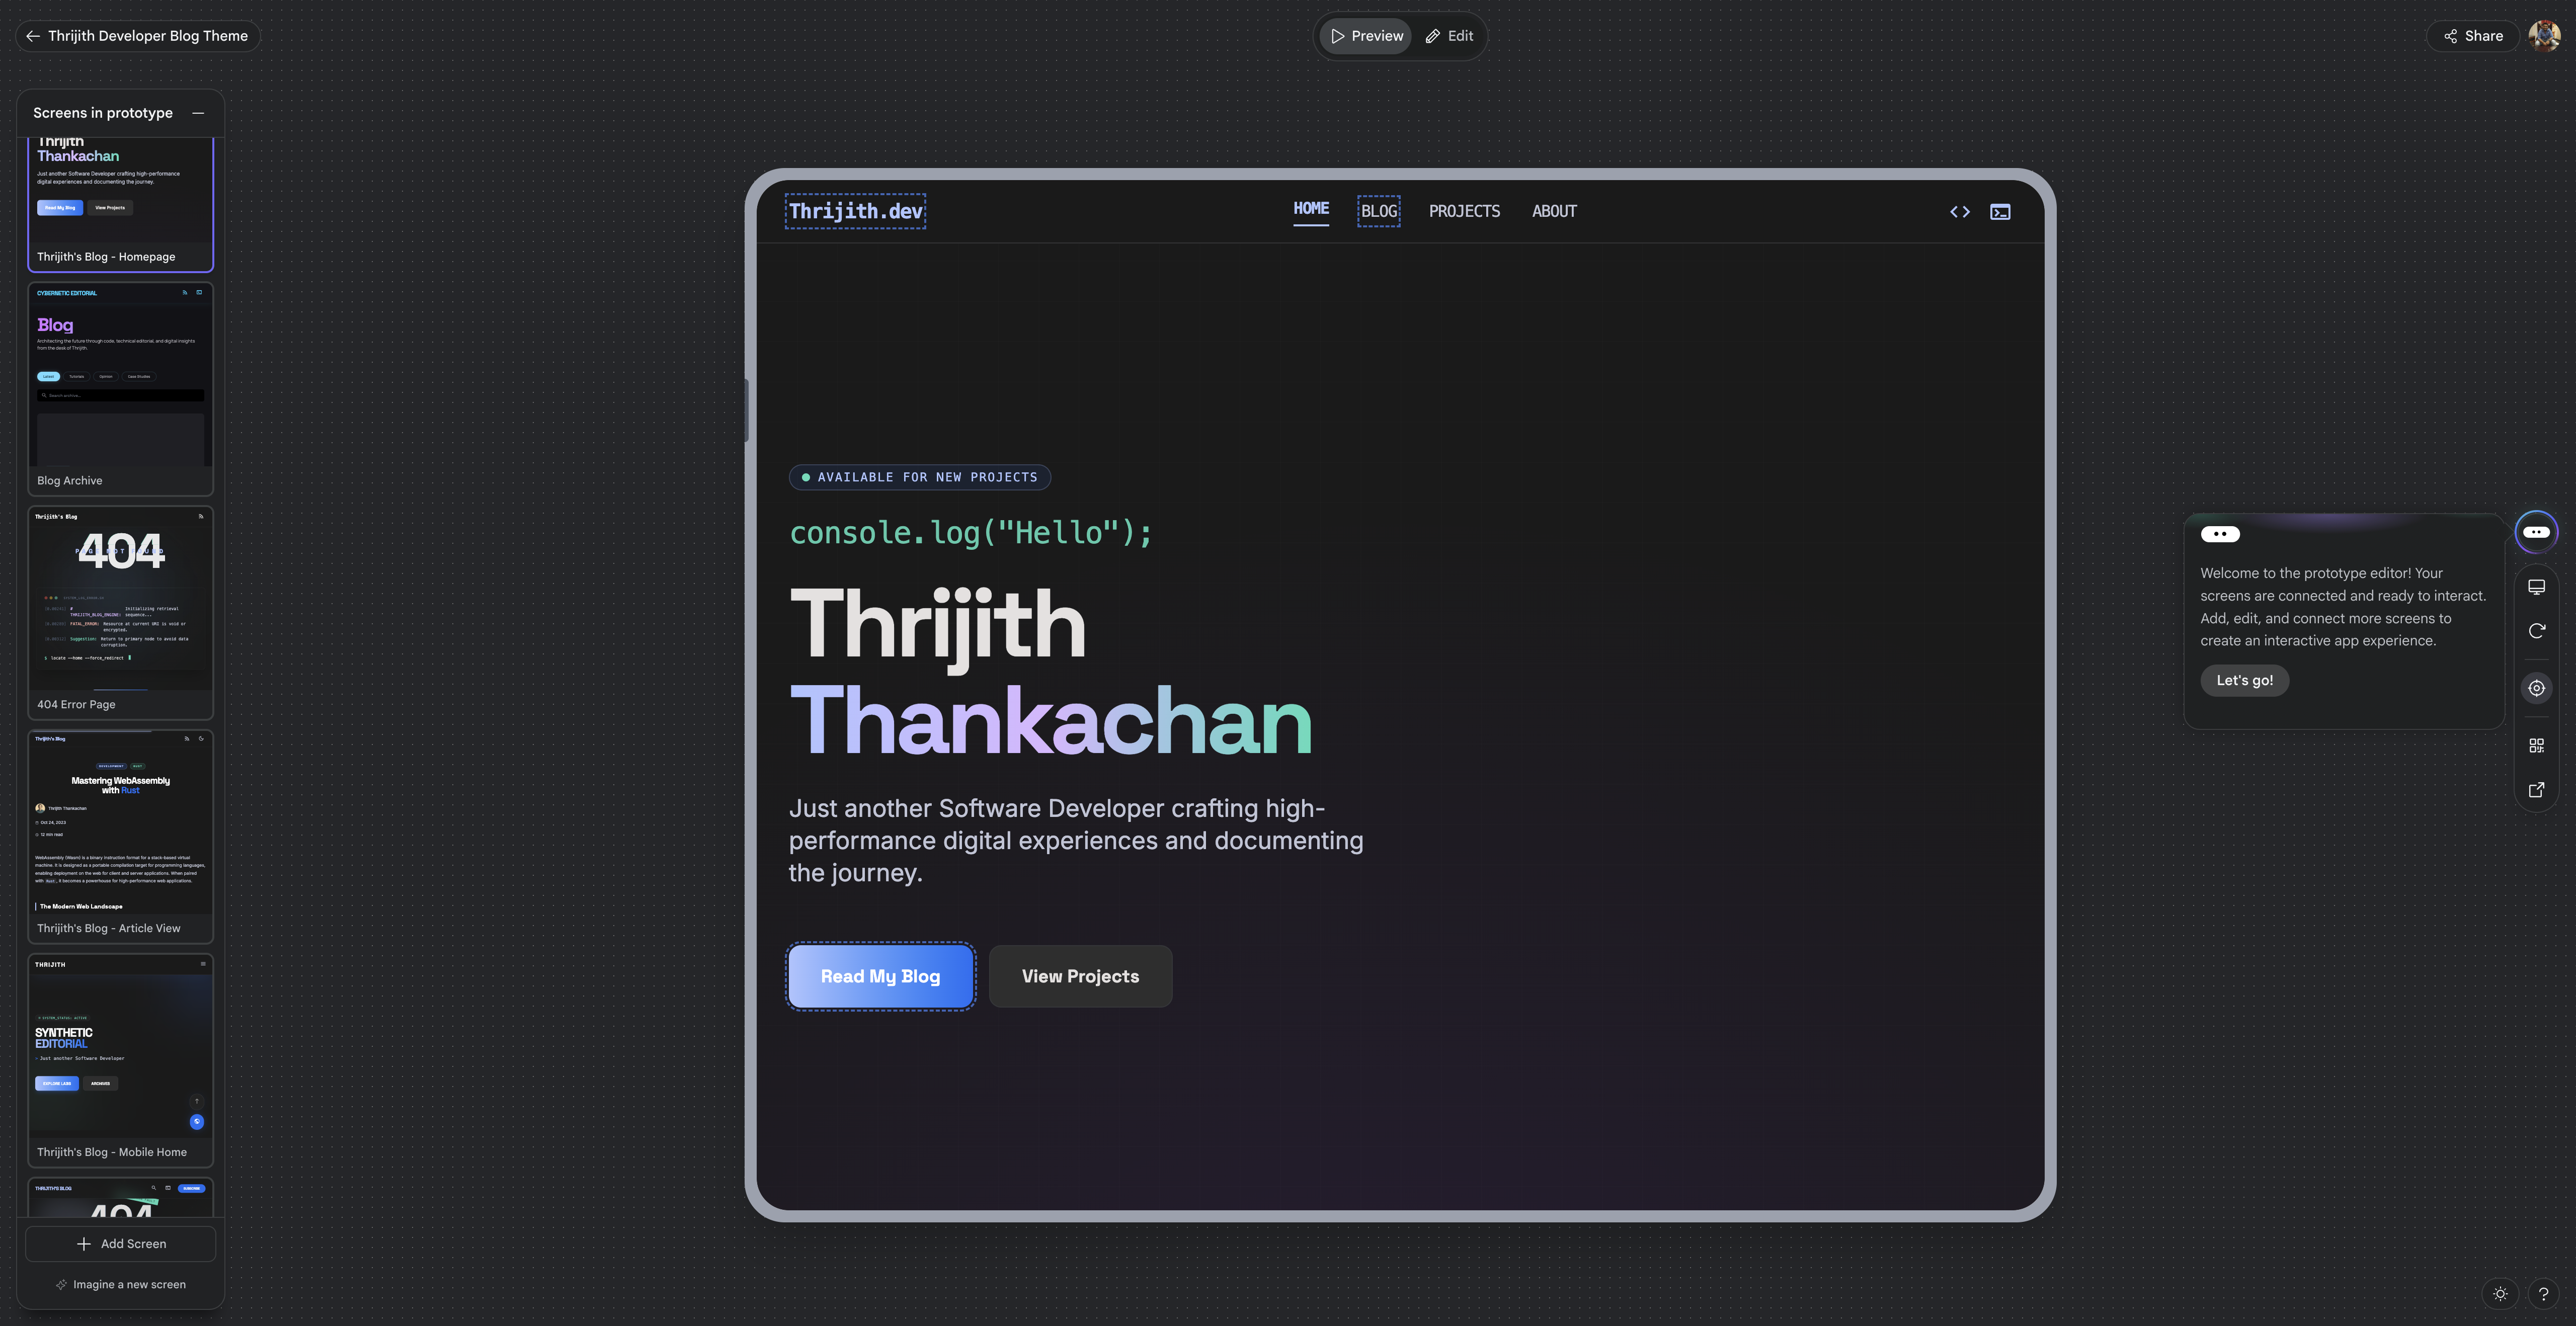
Step 1: Design with Stitch
I started by creating a Stitch project and generating designs for each page type my blog needs: homepage, blog archive, single post, and 404 page. The prompts described a dark, hacker-chic developer blog aesthetic with glassmorphism, gradient accents, and terminal-style code blocks.
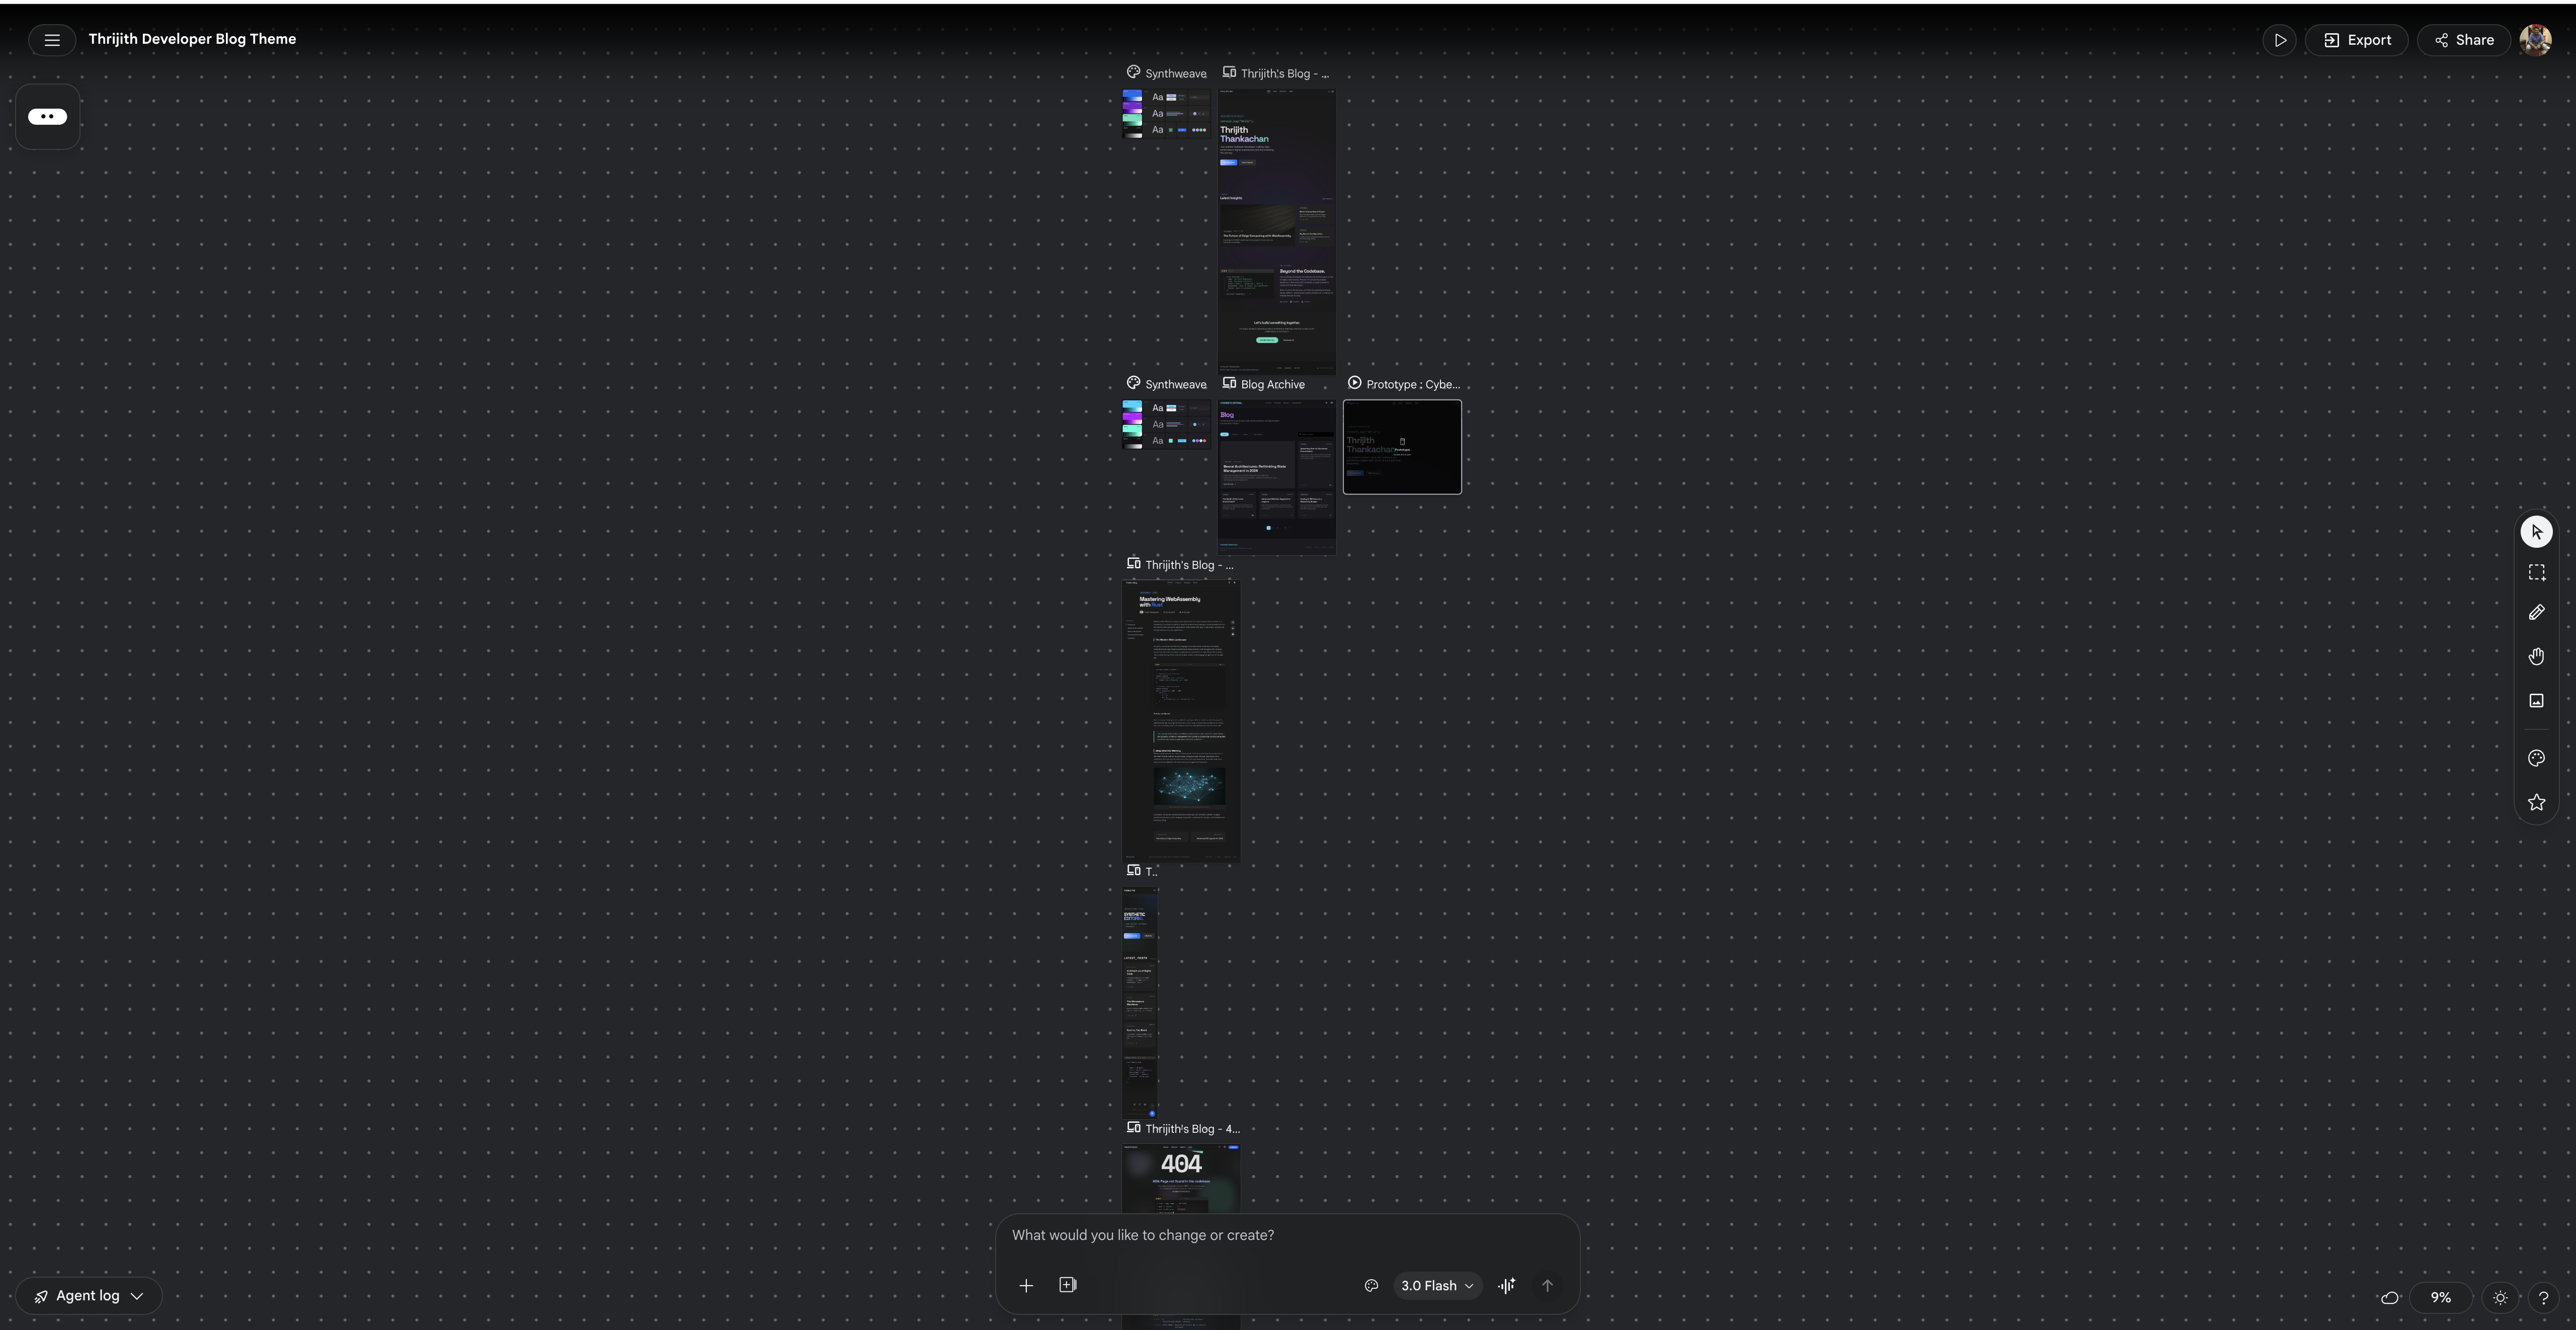
Stitch generated a complete design system called Synthweave — formally described as “The Synthetic Editorial” — with a dark-first color palette (electric blue, teal, purple accents), Space Grotesk for headings, Inter for body text, and detailed guidelines for elevation, spacing, and component styling.
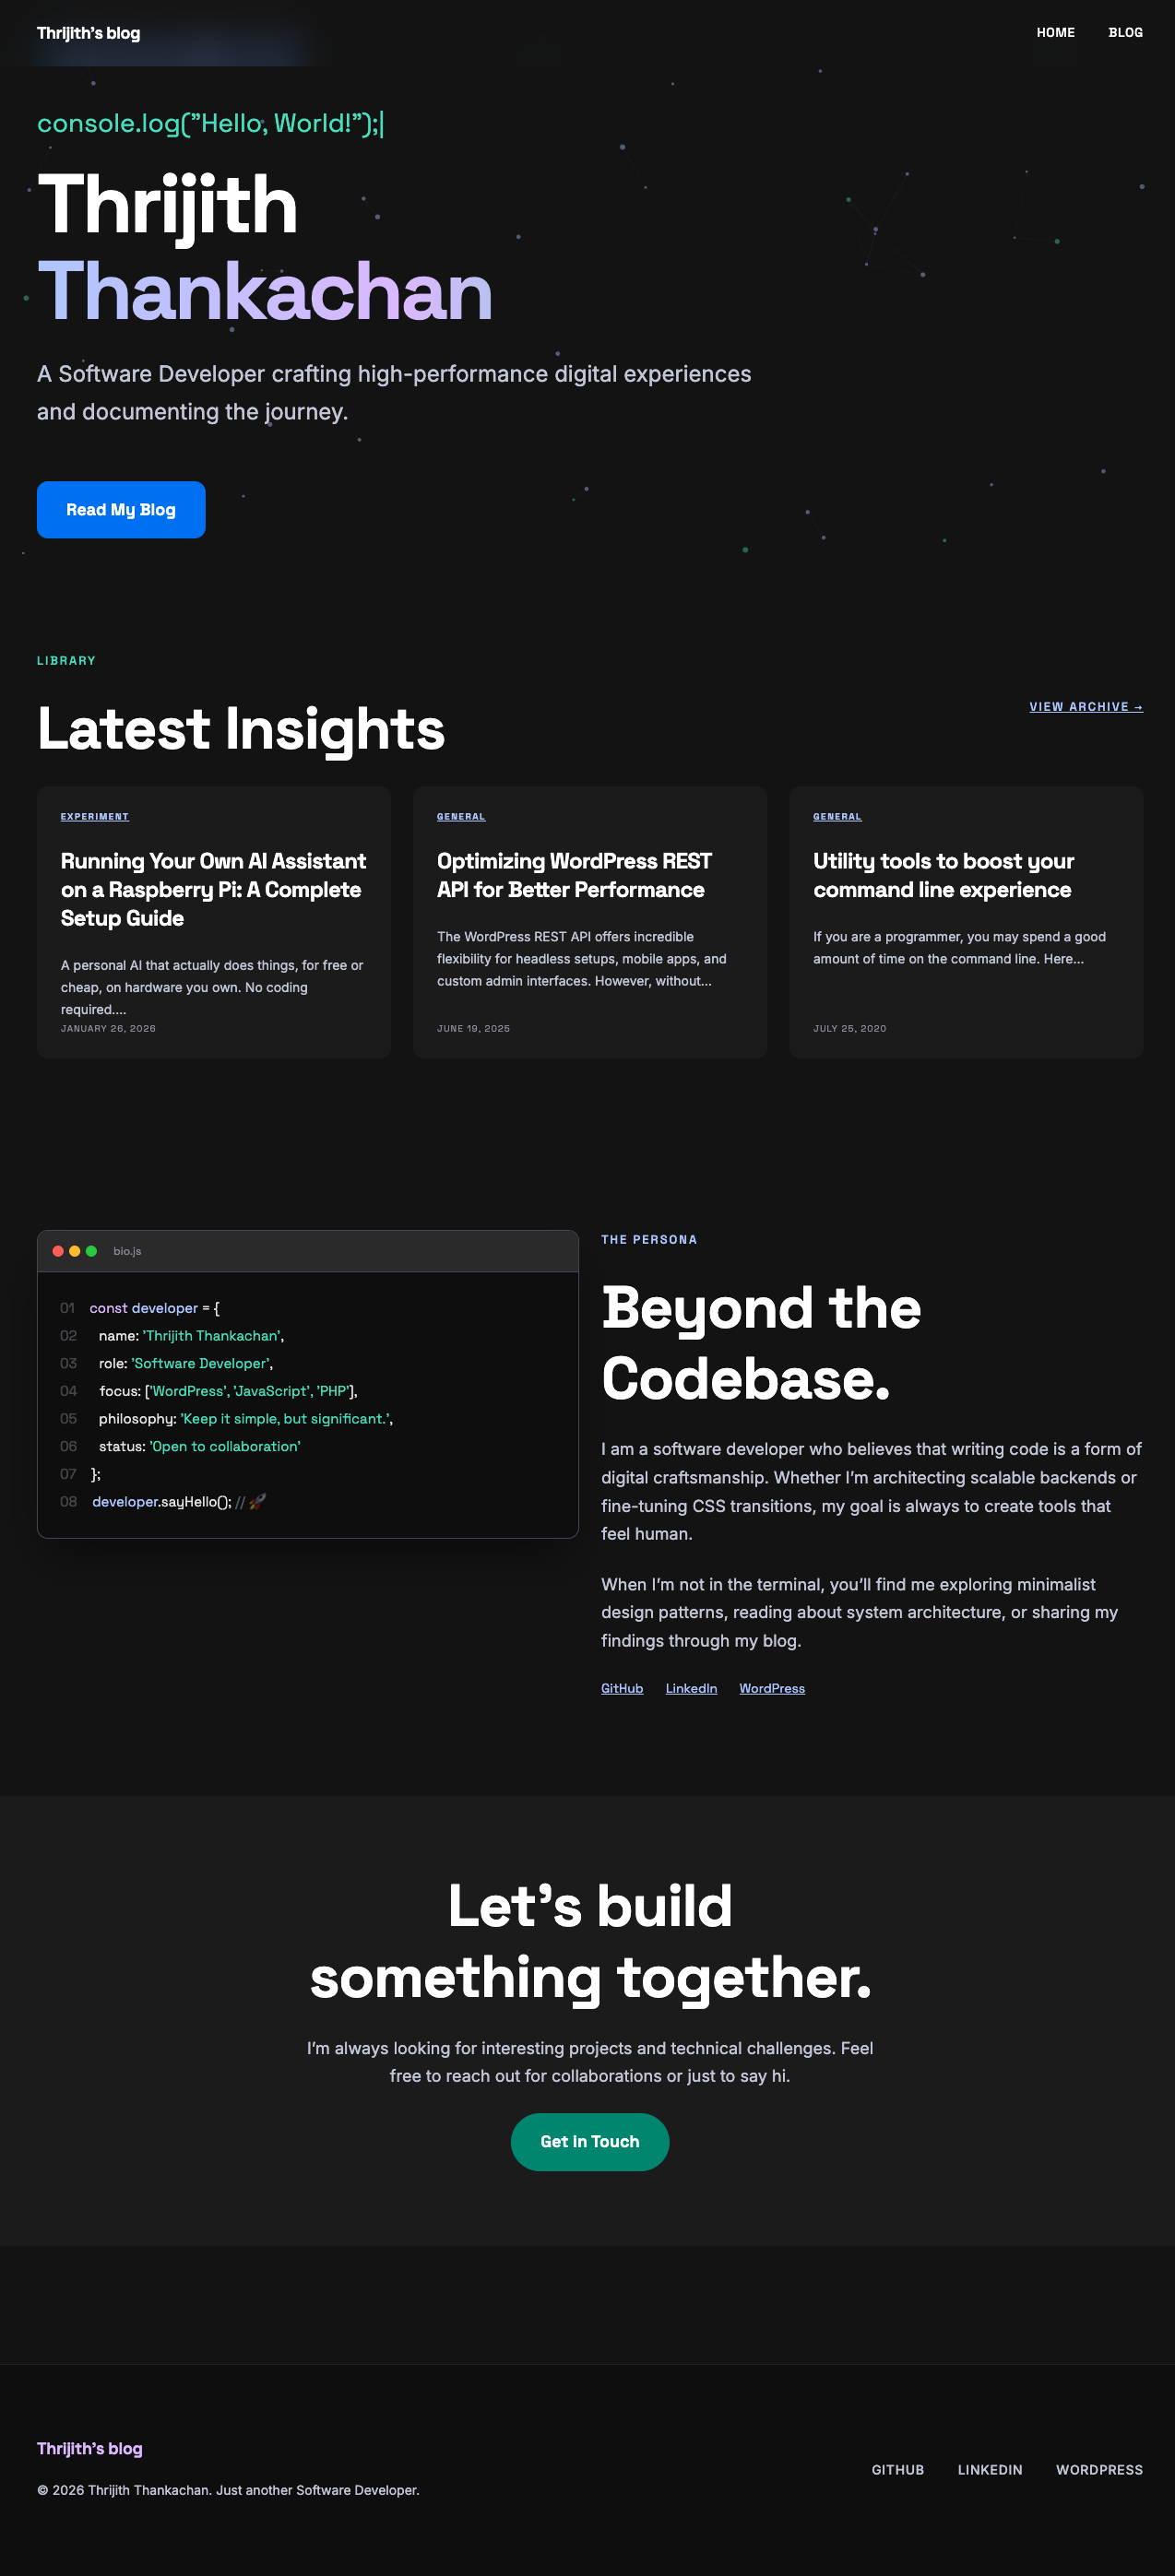
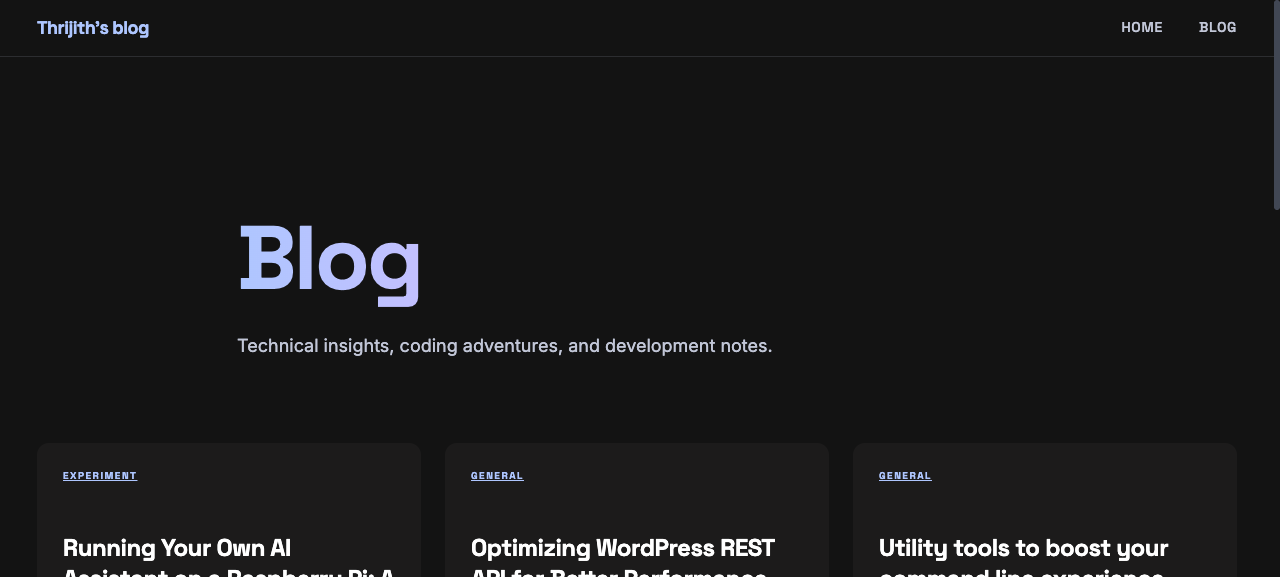
Step 2: Convert to a WordPress Block Theme
With the Stitch HTML/CSS exports as reference, I built a WordPress block theme using the Site Editor (block themes):
- theme.json — All Synthweave design tokens (20 colors, 2 font families, 7 font sizes, spacing scale)
- Block templates — 8 templates for every page type (front-page, index, single, page, 404, archive, search, home)
- Template parts — 4 header variants (default, centered, transparent, minimal) + footer
- Block patterns — Reusable homepage sections (hero, latest posts, terminal bio, CTA)
- Custom blocks — Terminal Window and Typing Text, registered with
block.jsonand server-side PHP rendering
Step 3: Follow Best Practices
Following 10up Engineering Best Practices, the architecture separates functionality from design:
- Theme — visual design only (CSS, theme.json, templates)
- mu-plugin — custom blocks that provide functionality, packaged separately so they work across themes
- Blocks use
var(--wp--preset--color--*)CSS custom properties from theme.json — fully theme-agnostic - Server-side rendering with InspectorControls for editable attributes in the Site Editor
Interactive Animations
The theme includes 5 Cover block animation styles, selectable directly from the Site Editor sidebar:
- Dot Grid + Spotlight — interactive dot grid where dots glow near your cursor with a smooth lerp follow
- Aurora Gradient — slowly morphing color blobs (pure CSS, no JavaScript)
- Floating Particles — drifting dots with connection lines between nearby particles
- Sine Waves — flowing multi-colored animated wave lines
- Code Rain — Matrix-style falling code characters
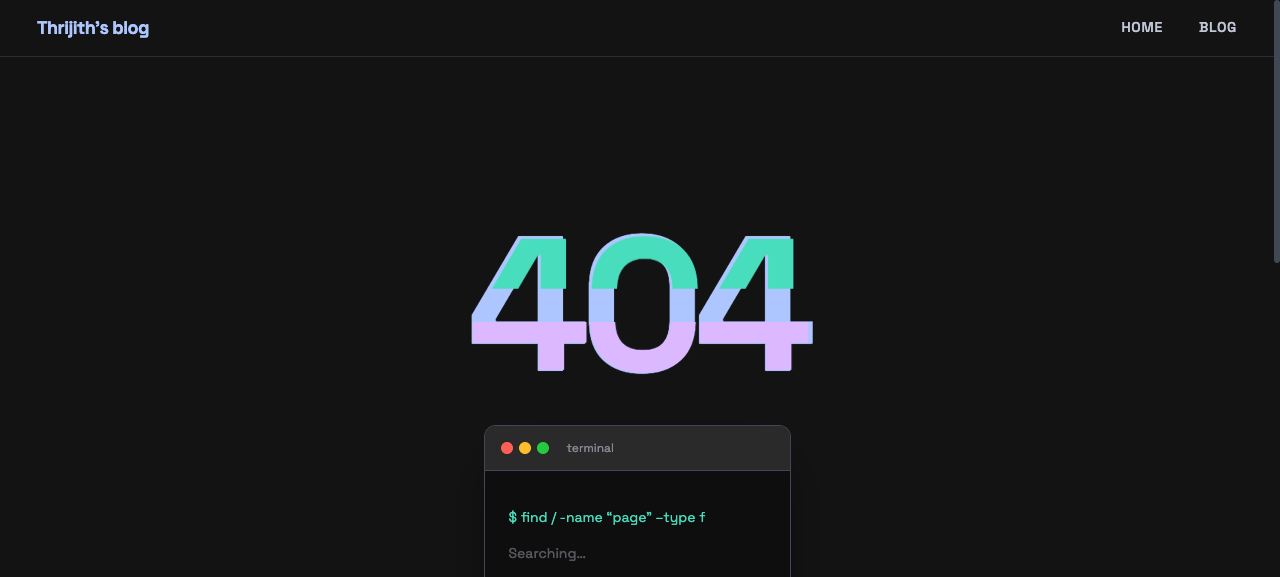
Other interactions include a typing animation that cycles through developer phrases, a 404 page with a CSS glitch effect on the “404” text, and post cards with hover-lift animations and teal accent borders.
How to Use Stitch with Claude Code
The Stitch MCP server made this workflow seamless. Here is how I used it:
- Create a project — use
create_projectto set up a design workspace in Stitch - Generate screens — use
generate_screen_from_textwith detailed prompts for each page type. UseGEMINI_3_1_PROfor best results - Download exports — Stitch generates complete HTML with inline Tailwind CSS. Download the files and use them as design reference
- Convert to WordPress — translate the Stitch HTML into block templates, extract colors/fonts into theme.json, and write custom CSS for animations
- Iterate with variants — use
generate_variantsto explore different layouts, color schemes, or typography
The DESIGN.md that Stitch generates was particularly valuable. It provided opinionated guidelines about color usage (“The No-Line Rule”), typography pairing, elevation patterns (“tonal layering over structural shadows”), and component styling that kept the entire theme consistent.
If you want to try a similar workflow, start with Stitch — generate a few screens, export the code, and use it as a foundation for your own theme.